---------------------------------------------------
【Voltage Compatibility】
Our products are selected to support international voltage ranges (e.g. 100–240V).
However, please make sure your local voltage is compatible before use, as incorrect voltage may still cause malfunction.
【Plug Type】
Our products use Japanese plug types (A or B type).
Please use a conversion adapter if necessary.
【Important Note on Transformers and Adapters】
A transformer adjusts voltage to match your device’s requirements.
A conversion adapter only changes the plug shape and does not adjust voltage.
Using only a conversion adapter without a transformer may result in damage to the product.
【Liability】
We are not responsible for malfunctions or damages caused by improper use, such as operating the product without appropriate voltage or equipment.
---------------------------------------------------
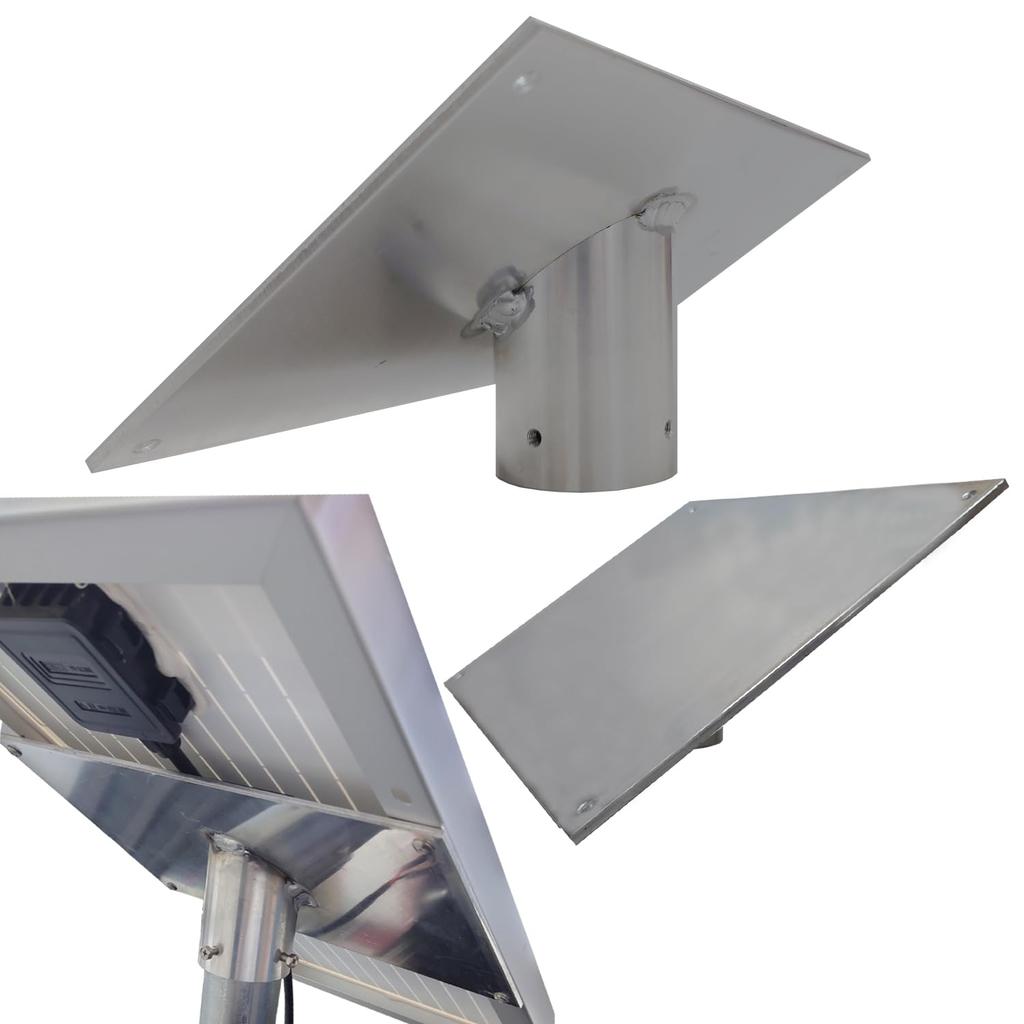
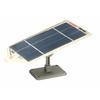
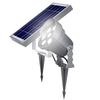
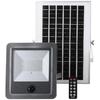
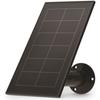
This aluminum mount is designed for the KAUSMEDIA 10W solar panel (aluminum frame type). It is fixed at approximately 35 degrees, the nationally recognized standard angle for solar panel installation. Simply insert it into a 48.6mm single-wall pipe driven into the desired installation location and secure it with screws. Note: While the holes in the mount are aligned to a certain extent with the KAUSMEDIA solar panel, it is also suitable for DIY projects, such as installing other solar panels or using it in a completely different way. However, please install at your own risk and with due consideration for safety.
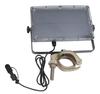
[Product Contents] ■KAUSMEDIA 10W Solar Panel Aluminum Mounting Unit (1 unit) ■3 Screws for Mounting to Single-Pipe Fixing Hexagonal Upset Bolts (Philips Recessed Hexagonal Shape) ■4 Tapping Screws for Fixing Solar Panels ■Instruction Manual *Single-pipe and other tools are not included. *Please note that there may be scratches and dirt due to manufacturing.
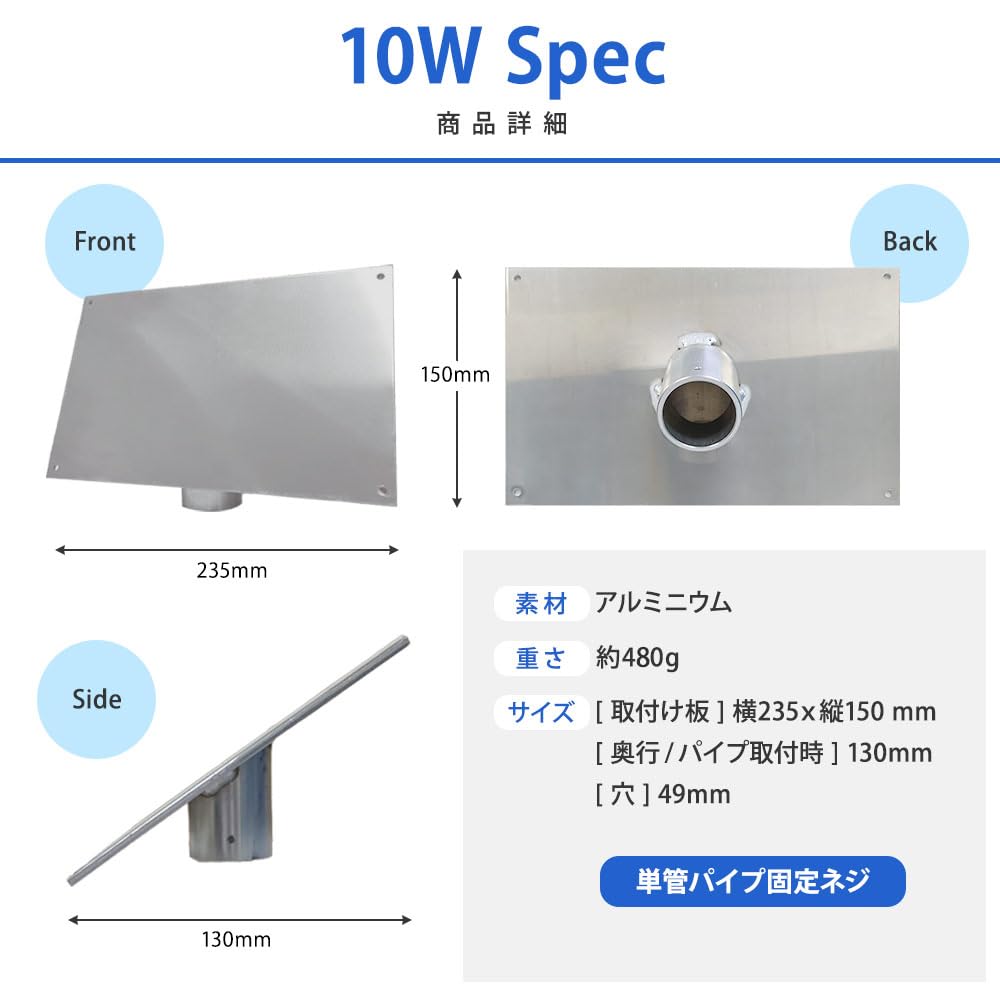
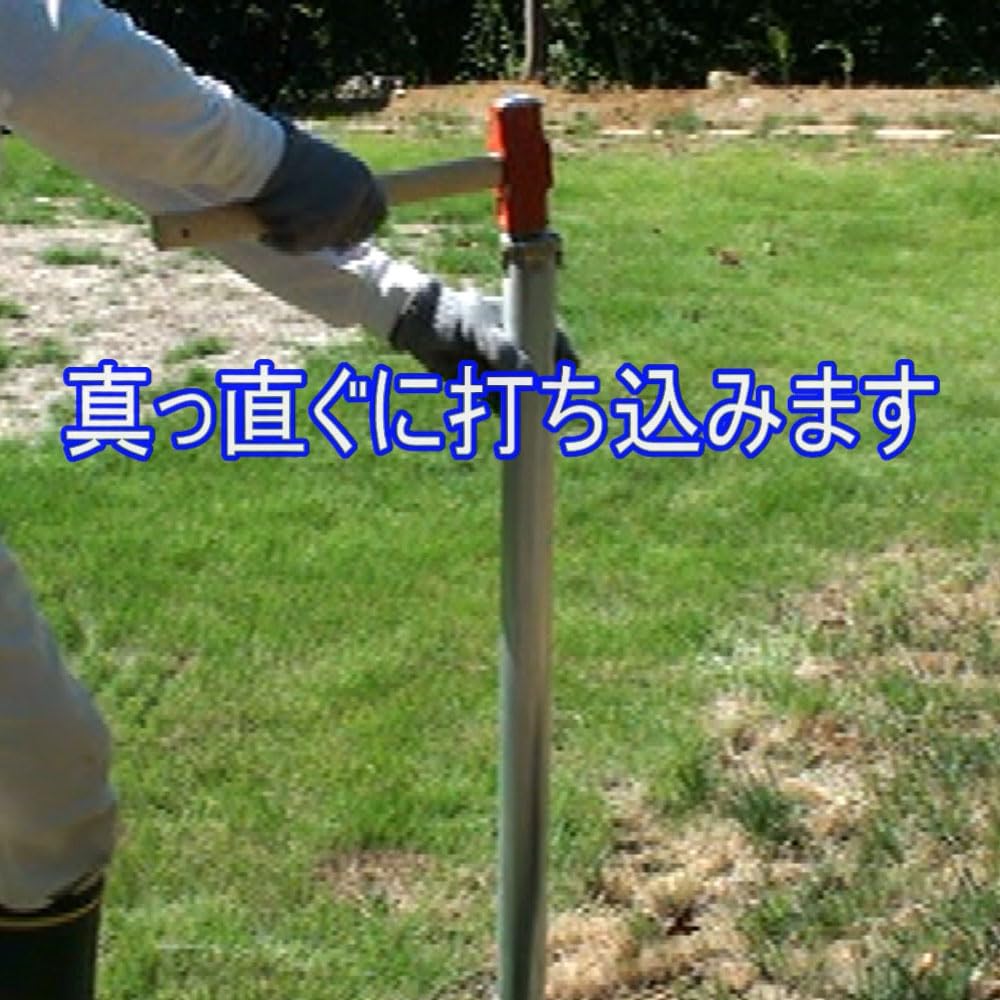
[Material]: Aluminum / [Size]: Approx. 235mm wide x 150mm long x 130mm deep (when pipe is attached) / [Weight]: Approx. 480g / [Hole dimensions]: Approx. 49mm *If you hit the single pipe directly, it may expand and become impossible to insert, so please cover it with a washer or something before hitting it. / *Single pipe (including drive-in washers, triangles, etc.) and tools (screwdrivers, hammers, etc.) are not included. We apologize for the inconvenience, but we ask that you prepare these yourself. / *The hole position on the panel will vary depending on the manufacturing date of the solar panel.
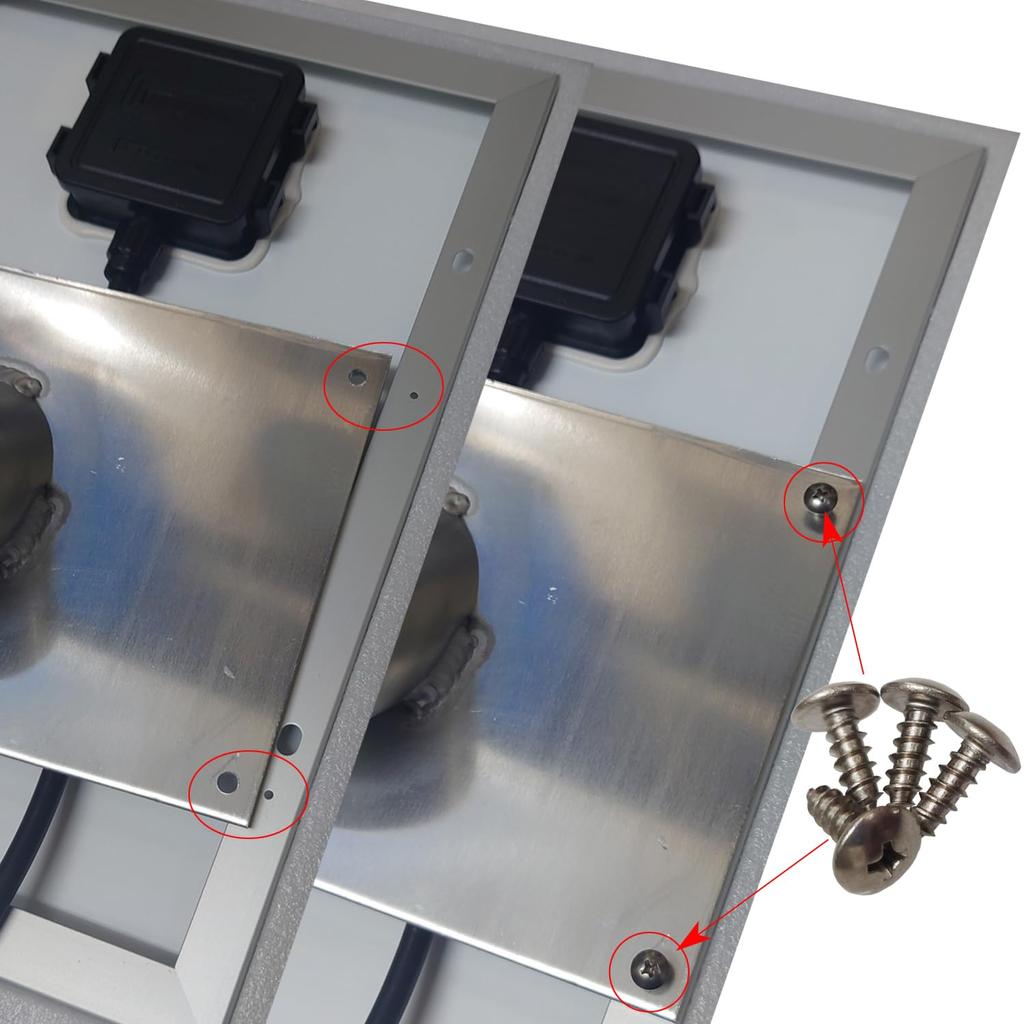
[Installation Method] ■For our current solar panel *The holes on the back of the panel and the holes on the mounting bracket will roughly match. ■1. Align the bracket with the mounting holes on the solar panel. ■2. Prepare tapping screws and screw them into all four places. ■*Note: While loose screws are not good, screwing them in too tightly will cause the panel to bend, so please be careful. *Please check the tapping screws regularly to make sure they are not loose.
■For our solar panels (types with different or no hole positions, approximately models manufactured before 2024) or solar panels made by other manufacturers: *Drill pilot holes on the edge of the panel and then use screws to widen and secure it. 1. Temporarily place the mounting bracket and drill a hole approximately 1mm deep where the self-tapping screw will be attached. *You can use a nail or drill to open the hole, but be careful not to hit it too hard or apply too much force, as this can penetrate all the way to the light-receiving surface or bend and damage the panel. It is safer to use a backing board or similar. 2. The screw threads will widen as they enter the hole. Once they have widened to a certain extent, remove them and attach the mounting bracket by aligning the holes. 3. Fully tighten the self-tapping screws. *Check periodically to ensure they are not loose. Installation method is at the customer's discretion, but you may need to drill holes on the reverse side or in a location that does not pose a mechanical problem.
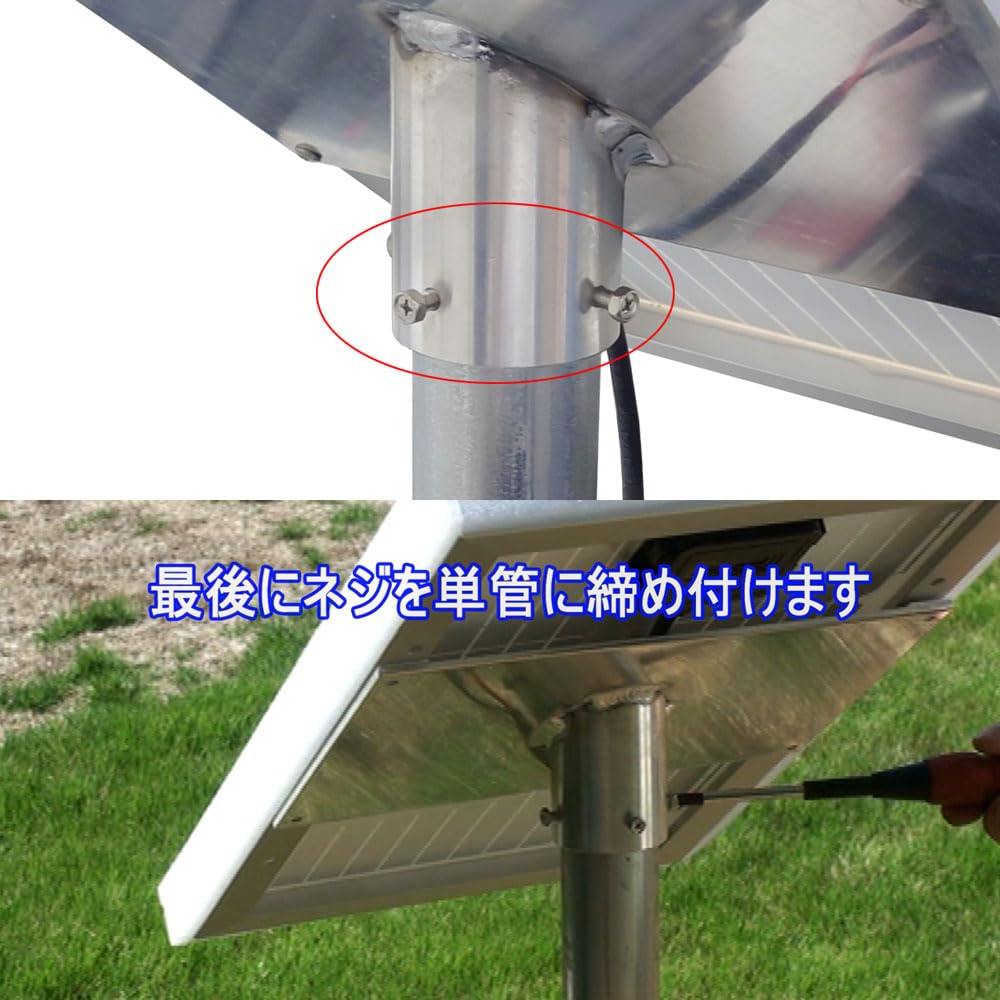
■1. Attach the tip missile to the single pipe and bury the pipe at least 50cm into the ground. / ■2. When driving the pipe, place a driving washer or a wooden board or similar on top of it before driving the pipe in. *If you hit it directly, the pipe will deform and the mounting bracket will no longer fit. / ■3. Attach the solar panel to the single pipe so that it faces south. / ■4. Use the included screws to securely fasten the mounting bracket so that it does not come loose.
This aluminum mount is made to fit the width of KAUSMEDIA's original 10W solar panel. [Material]: Aluminum [Size]: Approx. 235mm W x 150mm L x 60mm H (including connecting pipe) [Weight]: Approx. 445g [Hole Dimensions]: Approx. 49mm *The holes fit current solar panels, but the positions are different for older panels. *Single-pipe pipes and tools are not included. Please provide your own.